Last year was my first year canning and my first attempt at making pickles. I didn’t get to do much experimenting, unfortunately.
Last year was also my first garden, and I didn’t take pest control very seriously so I had no preventative measures in place. Not to mention I had not bothered to study up on pest identification until it was already too late.
It took no time at all before plant after plant succumbed to the hungry cucumber beetles and squash bugs. I got zero pumpkins last year, and only a little over a canner load of cucumbers.
I made my one and only batch of pickles, and found them less than desirable, but had no more to experiment with. We kept that semi sweet, very vinegary batch all the same though for the sake of “waste not, want not” and slowly but surely ate every jar.
This year, I was more prepared, and I planted various herbs known to draw predatory insects, used beer to attract slugs on other plants, and scattered Diatomaceous Earth over my various squash plants when I first noticed squash bugs and their eggs on the leaves of my precious butternut squash.
I have lost some squash plants, but not like last year. I’ve had multiple canner loads of cucumbers, and they are still producing! Plenty to experiment with! 🙂
I used a very basic recipe last year that I found online for garlic dill pickles.
http://www.simplebites.net/pickles-101-recipe-garlic-dill-pickles/
You may want to try this before turning all mad scientist on your cucumbers. I am, after all, quite flighty, and there is no telling if I forgot some simple, but important step. I am the same person who made homemade pumpkin pie filling last year for Thanksgiving and forgot to put the sugar in one of the pumpkin mixtures. Luckily, I was the first– and only– person who took a bite out of that pie!
So anyway, this was the recipe I used last year and the base I used for making my pickles this year. I did a few things differently from this year and last though. I used fresh dill, directly out of my garden, instead of buying dried dill at the store. I upped the vinegar content and the salt content.
Also, last year I put the jars in a cabinet to pickle. This year I put them in the refrigerator as soon as they were just warm to the touch. If you’ll recall, the temperatures across the midwest were scorching last year, and since I am not a big fan of air conditioning, temperatures in the house weren’t exactly the best for pickling cucumbers.
Oh…and I added an ingredient. 😉
So far, so good this time around! I did a taste test on my first jar of pickles yesterday! It appears that whatever I didn’t get right last year, I did get right this year!
Making Pickles, Day One
You will need:
- 1 cup CANNING salt
- 8 lbs cucumbers
- Water
- 14 heads of dill, with stem
Instructions:
- Gather up as many cucumbers as you can. The recipe I linked to recommends about 8 pounds.
- Wash the cucumbers, then poke them all over with a fork.
- Place a layer of cucumbers in a bowl, layer over with salt, then another layer of cucumbers, then salt.
- Fill the bowl with water until the water is about an inch over the cucumbers, and weight them down with a small plate.
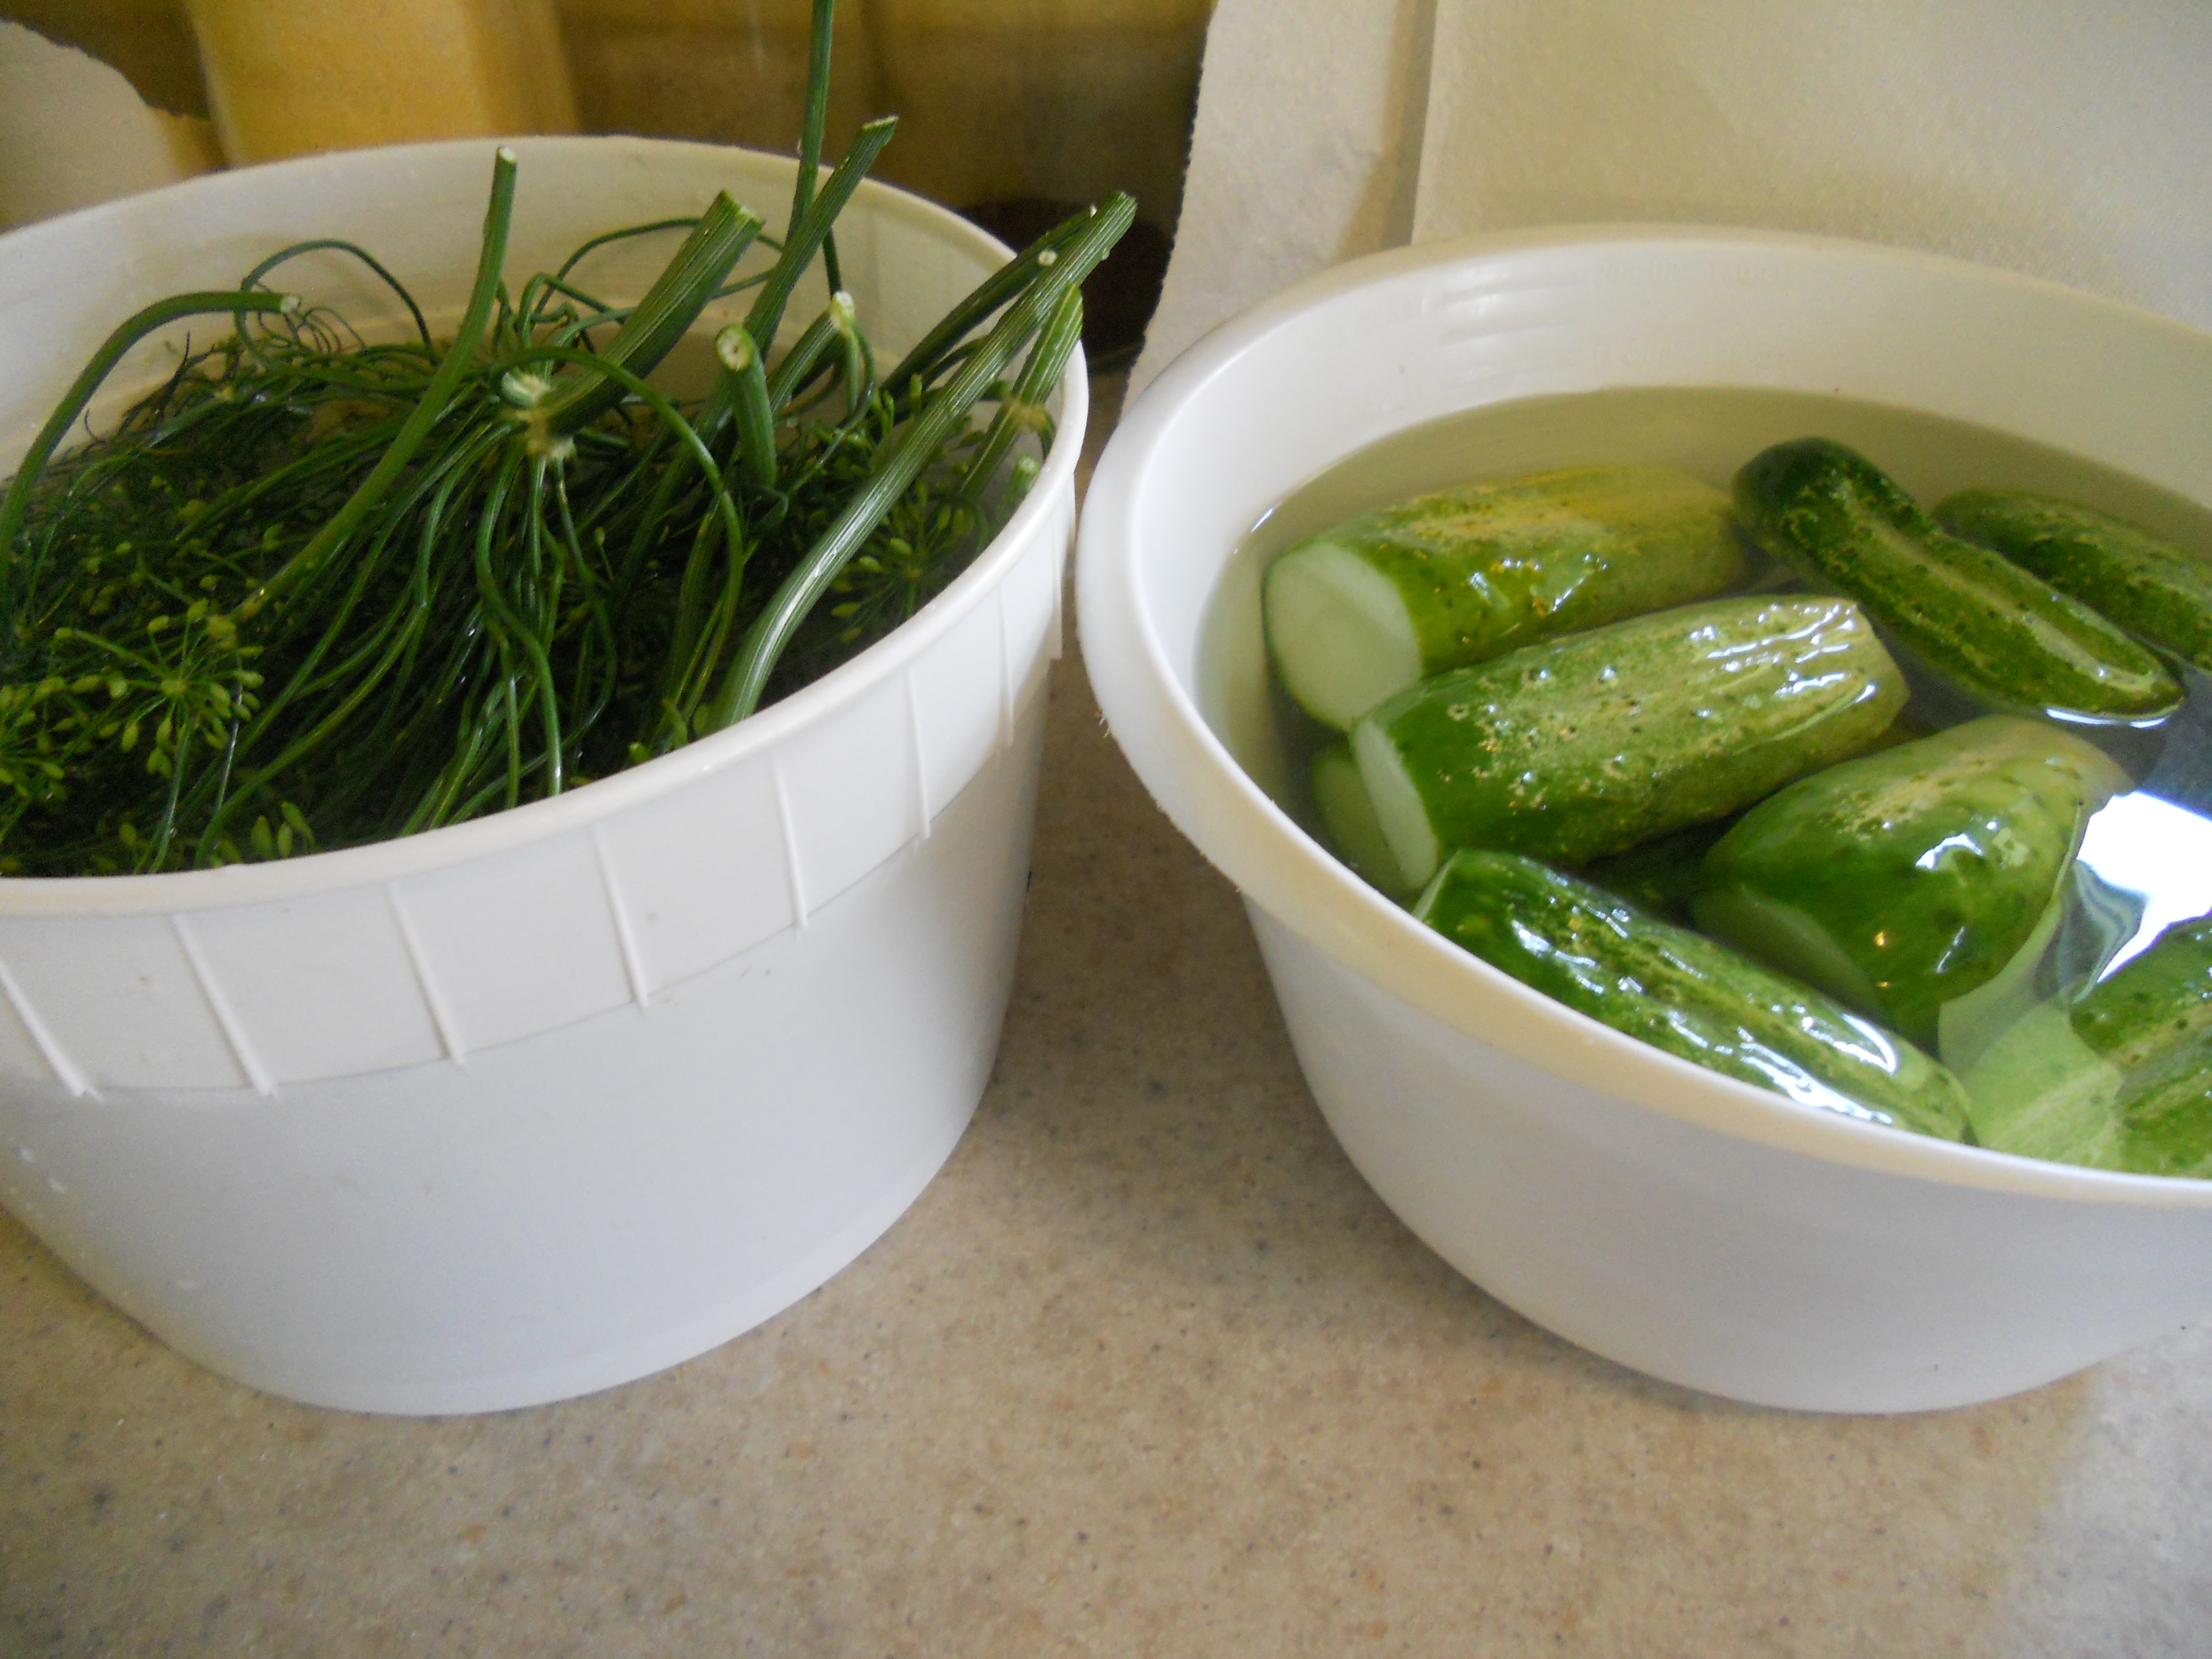
- In another bowl, place your dill heads head down and fill with water overnight if you’re concerned with creepy crawlies being in or on them. If you’re not, pick them and rinse them off on day two. You should at least rinse them to get rid of any dust.

Soak dill heads and cucumbers overnight
Canning is not hard. The hardest part, or what is hard for me personally, is any kind of multi-tasking. If you’re A.D.D. this may be a small, but easy to overcome hurdle for you as well. I’ve had to learn to multi-task!
Day 2:
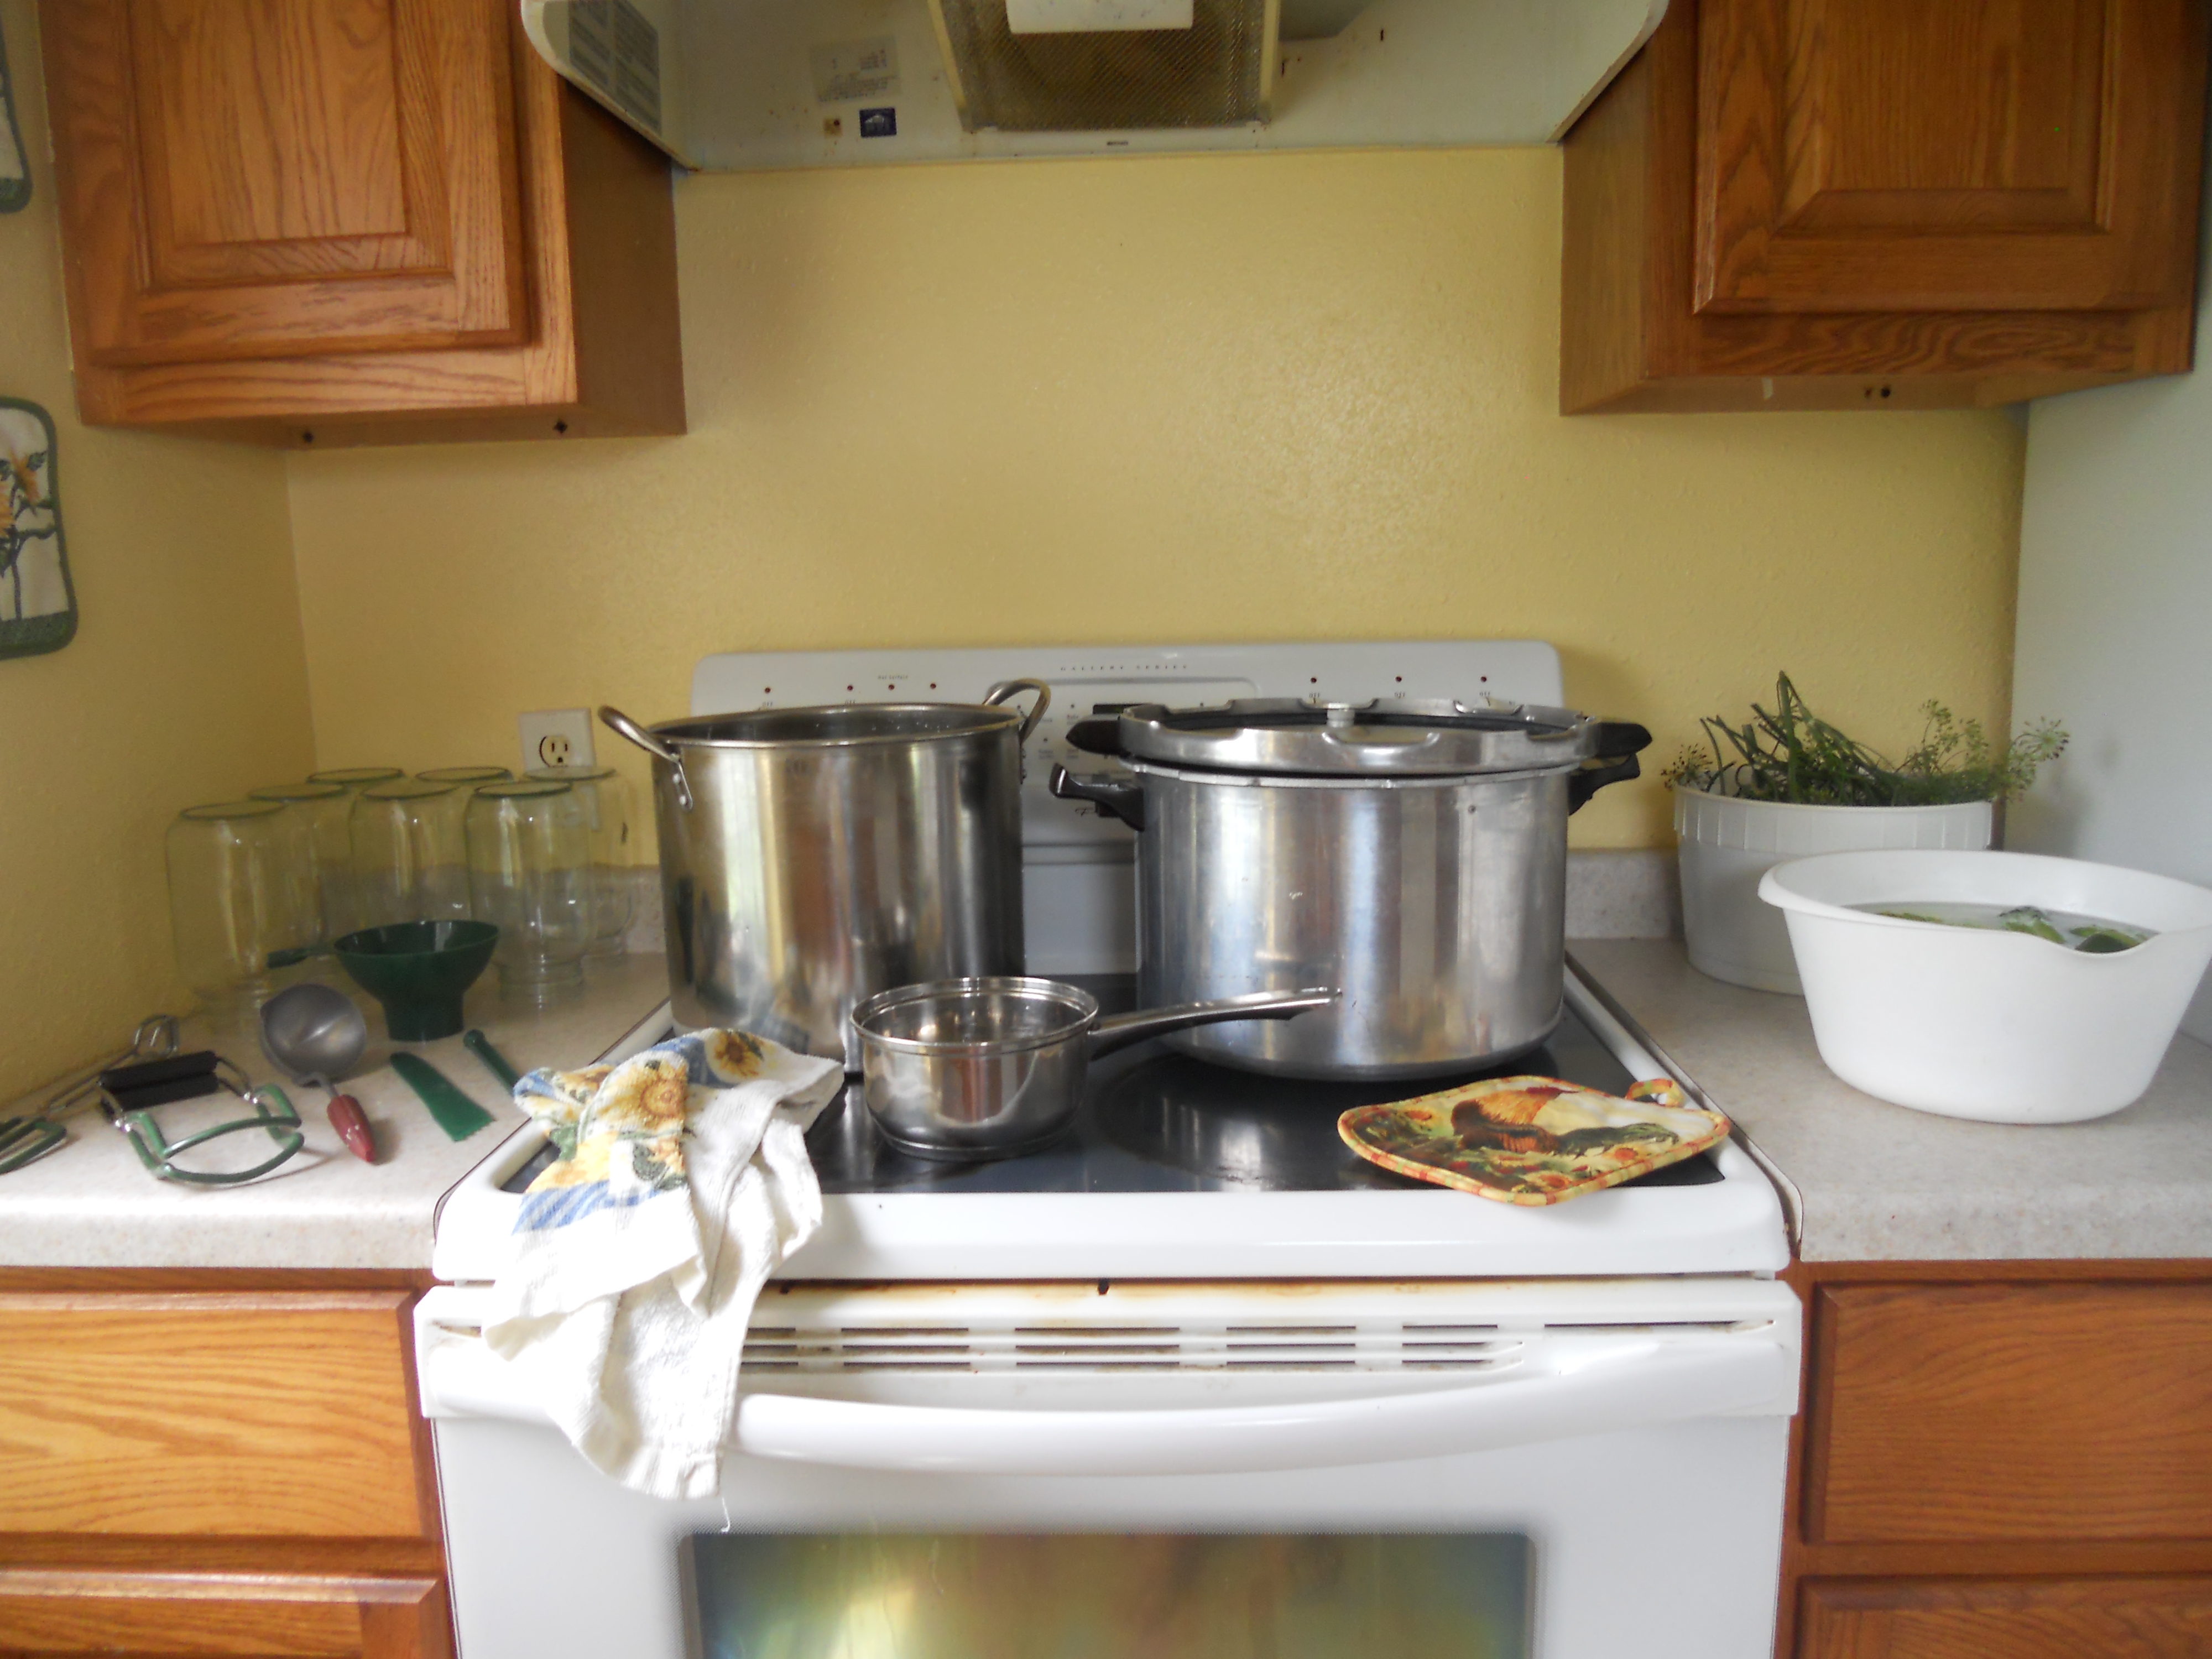
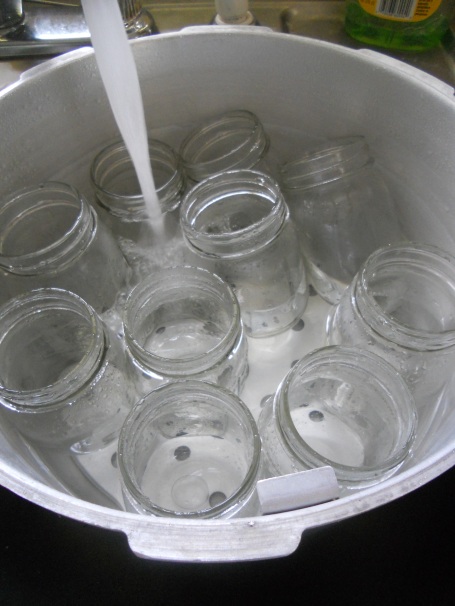
Your canning supplies
- Gather your canning supplies– jars, seals, lids, canner, and all your utensils
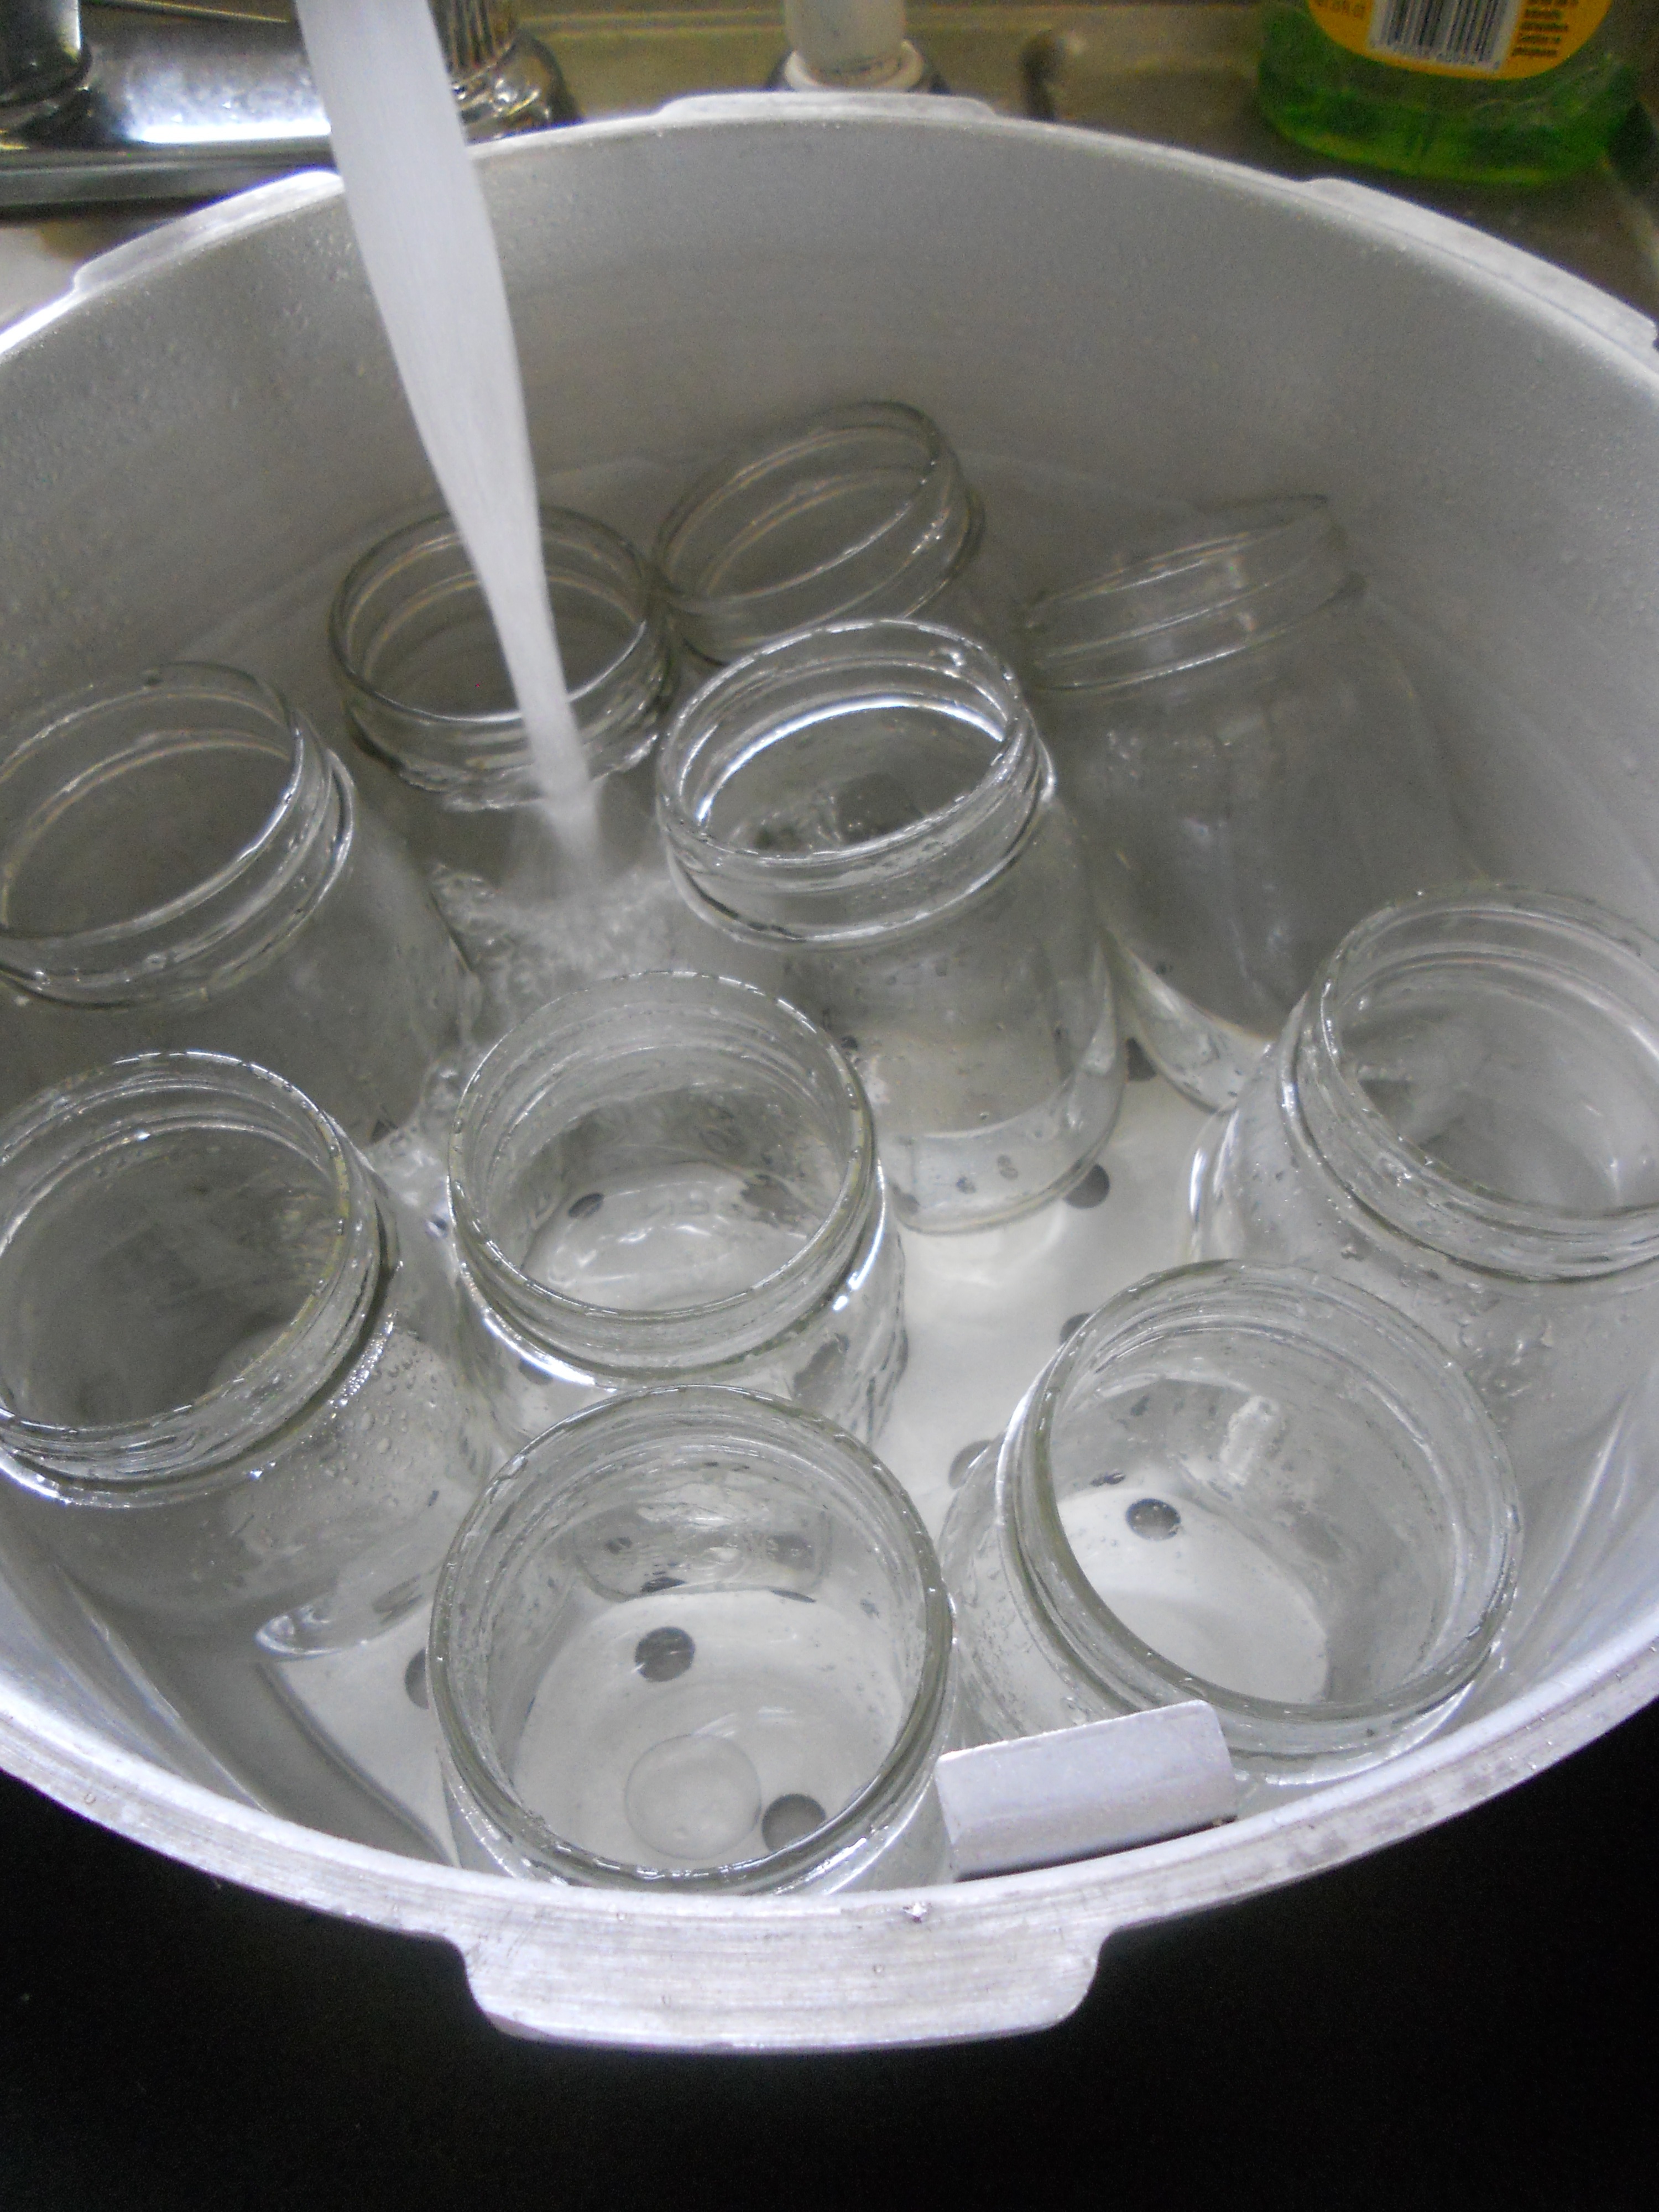
- Wash your jars in warm soapy water, check for cracks and chips along the rims
- Rinse your seals and rings
- Set everything up, nice and neat, and easily accessible.
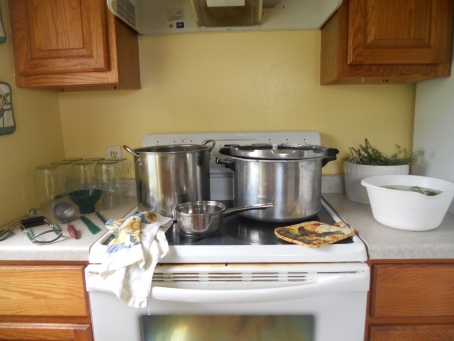
- Place your jars in the canner and fill the canner to one inch over the top of the jars (fill the jars too to hold them in place) with water. This will also get, and keep, the jars hot while you work.
- Turn the burner on high
- Place your seals and rings in a small saucepan with enough water to cover them. Heat them on high til the water is hot and then turn it down to a simmer.
Ingredients
- 21 cloves of garlic, each split in half
- 35 peppercorns
- 1/4 cup canning salt
- 6 cups water
- 6 cups vinegar
- 1 or 2 Jalapenos
- Dill heads
- Brined cucumbers
Instructions:
- Combine water, vinegar, and salt in a pot.
- Heat to boiling, until salt is dissolved, and boil for 1 minute.
- Turn the heat down to a simmer and cover the pot to avoid loss by evaporation
Your canner with jars, seals and rings, and vinegar solution should all be heating up at once.
- While you’re waiting for everything to heat up, start preparing your other ingredients.
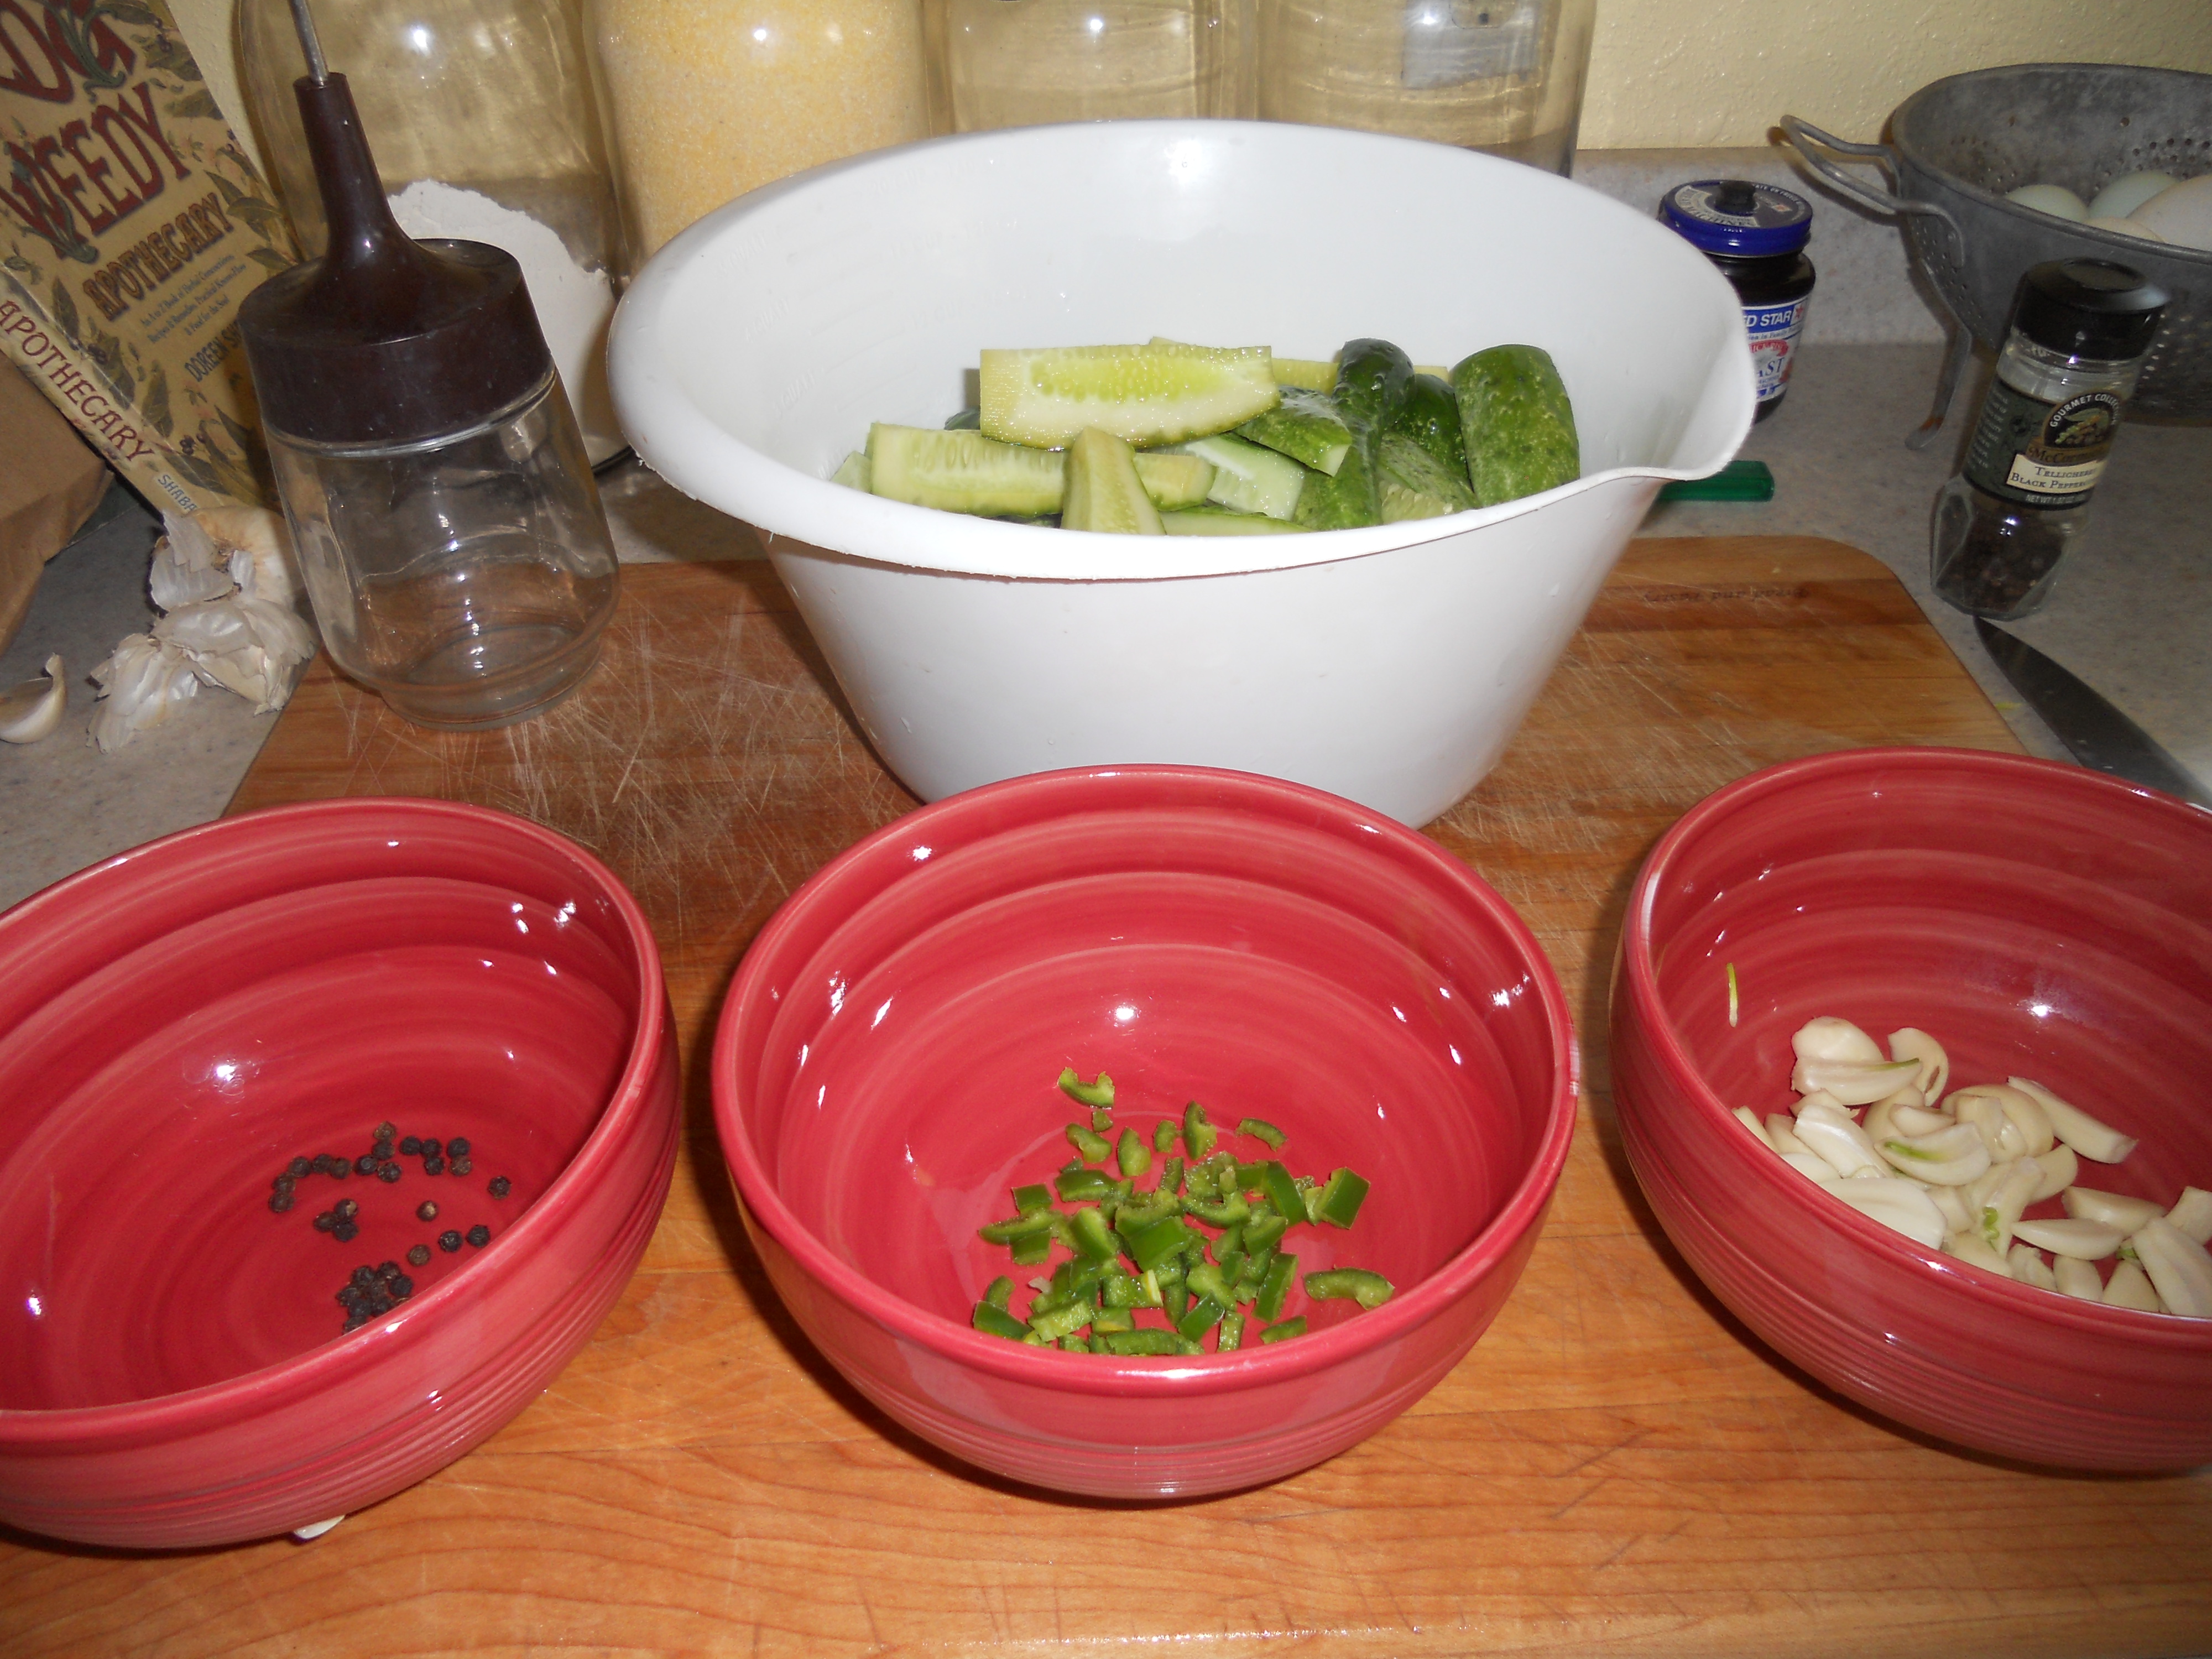
- Rinse your cucumbers of the brine and slice them in quarters.
- Peel and slice your garlic cloves in half.
- Slice your Jalapeno(s) in half, clean out the seeds, and slice them up.
- Ready your peppercorns
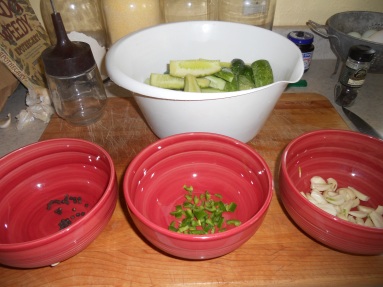
Brined cucumbers, peppercorns, jalapenos, and garlic all ready to go!
By now your pickling solution is good and hot, has been turned down to a simmer, and is covered. Your seals and rings are simmering, and your canner is at least close to boiling!
- Pull out a jar, dump the water from the jar in the sink and place 5 to 6 pieces of garlic, 4 or 5 peppercorns, and several pieces of Jalapenos in the bottom of the jar.
- You can place the pieces of garlic in whole or dice them up. If you dice, do it before you pull the jar out of the canner.
- Grab a head of Dill, quickly cut off the seed heads and several small pieces of the stem, and throw them in the jar. They fit better cut than if you throw it in whole.
- Fill the jar with as many cucumber slices as you can.
- Place your funnel on the jar, and ladle enough pickling solution to fill the jar to a 1/4 of an inch headspace.
- Take your little plastic spatula and run it along the sides of the jar to work out air bubbles.
- Place a seal on the jar and a ring. Make the ring snug, but not tight. It’s not a strong man contest.
- Place the jar back in the canner and repeat these steps until you’re out of supplies/ your jars are full.
- Let your canner come to a boil, cover, and boil 15 minutes.
- Remove the jars, listen for the ping of sealing lids, and let them cool for 12 to 24 hours and store in a cool place for at least a week.
My next batch of pickles, after the first as instructed above, is an even greater experiment. I used a different recipe for the pickling solution, added a more generous amount of Jalapenos to the jar, and also added a ring of Aurora pepper to each, as well as a Bay leaf. Hopefully they will be just as good and pickled as the others have turned out to be, but will be just a little on the hot side! I’ll let you know how they turn out, and if they’re good, I’ll post the recipe!
NOTE:
- If you’re using a pressure canner as a water bath canner, you will need to remove the over pressure plug from the canner lid before placing it on the canner.
- I asked, and was advised, that after you’ve allowed your jars to pickle, you can move them from the refrigerator to a dark cabinet so they are not taking up space